The Marvels | Promo: Evolution of Captain Marvel
Actors Brie Larson and Samuel L. Jackson, along with Marvel chief Kevin Feige, and director Nia DaCosta discuss the character's evolution from renegade to hero to Avenger to team leader in this latest promo for The Marvels.

Gen V | S1.E01 | Clip: Golden Boy Kills Brink
A meeting with Professor Brinkhoff turns fatal as Golden Boy goes on a rampage in this clip from the season one episode of Gen V, "God U." Watch the series now on Prime Video.
Doom Patrol | S4.E09 | Behind The Scenes of The Musical Episode
Actors Joivan Wade, Michelle Gomez, April Bowlby and others discuss orchestrating the harmonic fever dream of a musical episode in this behind the scenes look at the season four segment of Doom Patrol, "Immortimas Patrol."
LEGO Marvel Avengers: Code Red | Official Trailer
Earth's mightiest heroes dance their way into a battle with The Collector in this official trailer for LEGO Marvel Avengers: Code Red. Watch October 27 on Disney+
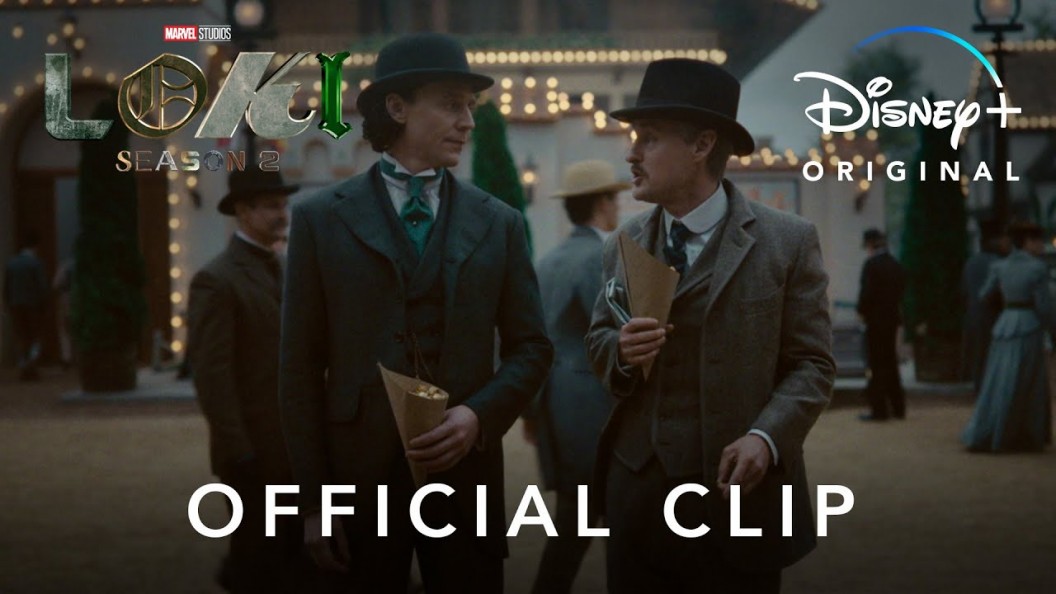
Loki | S2.E03 | Clip: Good Likeness?
Loki and Mobius come upon a tribute to the Norse gods, prompting a critique from the God of Mischief, in this clip from this week's episode of Loki. Watch tomorrow on Disney+.
The Walking Dead: Daryl Dixon | Show Me More: Feat. Norman Reedus and Melissa McBride
The cast and crew of The Walking Dead: Daryl Dixon discusses the genesis of the spinoff series in this installment of AMC's Show Me More. Watch the series now on AMC+.
Justice League x RWBY: Super Heroes & Huntsmen Part Two | The First 10 Minutes
The Justice League has left the Remnant, but the Remnant has followed them to Earth. Now they team once again with RWBY to save the world in these first ten minutes of Justice League x RWBY: Super Heroes & Huntsmen Part Two.
Invincible | Season 2 | Official Trailer
Omni-Man has left Earth, leaving a conflicted Mark as the planet's greatest protector, or its greatest threat, in this trailer for season two of Invincible. Watch November 3 on Prime Video.

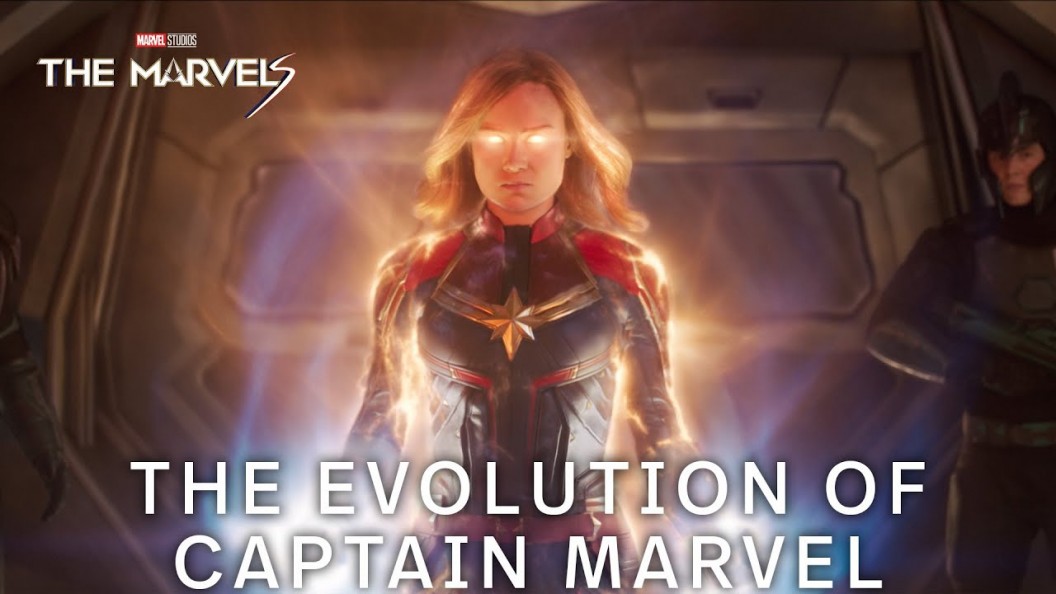
The Marvels | Promo: Evolution of Captain Marvel
Actors Brie Larson and Samuel L. Jackson, along with Marvel chief Kevin Feige, and director Nia DaCosta discuss the character's evolution from renegade to hero to Avenger to team leader in this latest promo for The Marvels.
Oct 26, 2023 Watch
Gen V | S1.E01 | Clip: Golden Boy Kills Brink
A meeting with Professor Brinkhoff turns fatal as Golden Boy goes on a rampage in this clip from the season one episode of Gen V, "God U." Watch the series now on Prime Video.
Oct 26, 2023 Watch
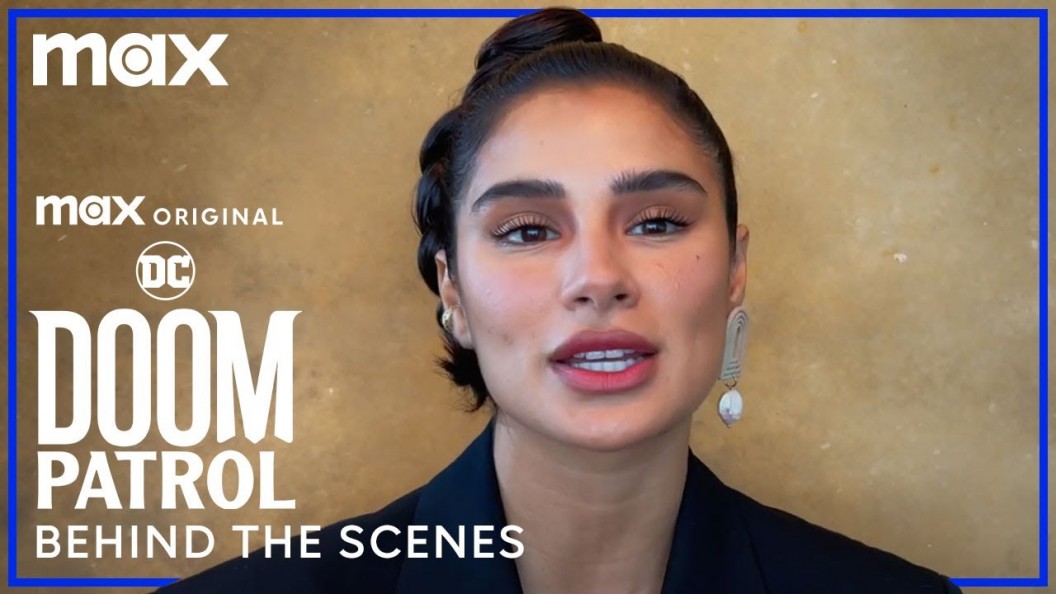
Doom Patrol | S4.E09 | Behind The Scenes of The Musical Episode
Actors Joivan Wade, Michelle Gomez, April Bowlby and others discuss orchestrating the harmonic fever dream of a musical episode in this behind the scenes look at the season four segment of Doom Patrol, "Immortimas Patrol."
Oct 26, 2023 Watch
Teen Titans GO! | Supercut: Halloween vs Christmas
The Titans explore a haunted castle owned by Krampus and try to stop Santa and his elves from ruining Halloween in this spooky, spirited mashup of episodes from Teen Titans GO! Watch the series now on Cartoon Network and Max.
Oct 26, 2023 Watch
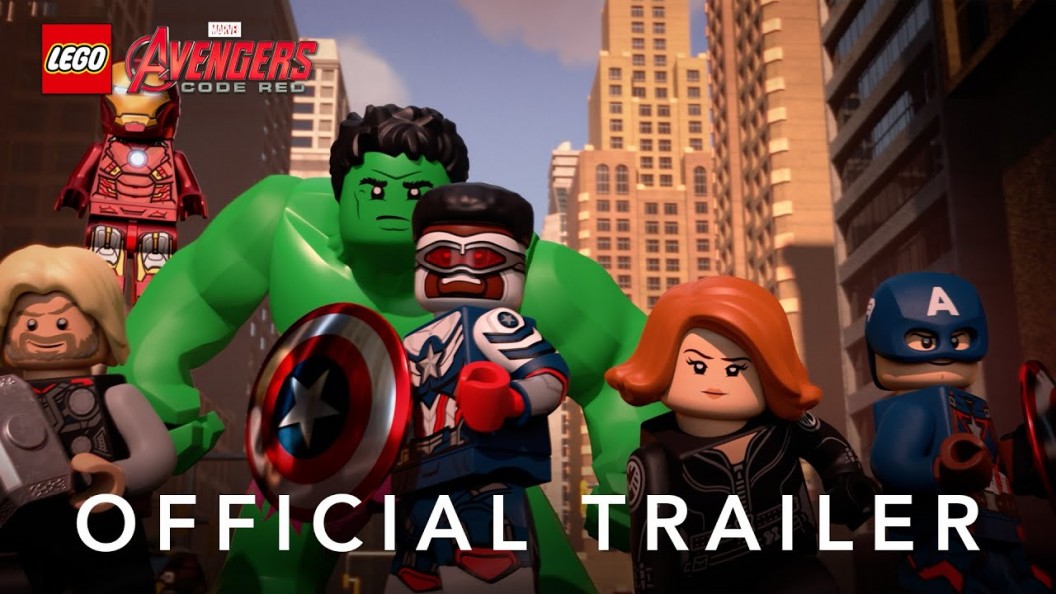
LEGO Marvel Avengers: Code Red | Official Trailer
Earth's mightiest heroes dance their way into a battle with The Collector in this official trailer for LEGO Marvel Avengers: Code Red. Watch October 27 on Disney+
Oct 26, 2023 Watch
Blue Beetle | Behind The Scenes: Nana Knows Best
Actors Xolo Maridueña, Adriana Barraza, Belissa Escobedo and others discuss the sweet, ass-kicking abuela at the inner circle of their superhero film in this behind the scenes look at Blue Beetle.
Oct 25, 2023 Watch
X-Men: The Animated Series | S1.E04 | Clip: Magneto Meets Professor X
Magneto destroys a chemical plant in order to attract the attention of Professor X in this clip from the season one episode of X-Men: The Animated Series, "Deadly Reunions." Watch the series now on Disney+.
Oct 25, 2023 Watch
Batwheels | S1.E06 | Full Episode: Sidekicked to the Curb
When Bam is sent to take on Prank, Redbird is forced to hang back because The Joker's van is too dangerous in this full season one episode of Batwheels, "Sidekicked to the Curb." Watch the series now on Max or Cartoon Network.
Oct 25, 2023 Watch
Teen Titans GO! | S8.E22 | Clip: vs Flintstones and Jetsons
From the Flintstones to the Jetsons, the Teen Titans traverse the cartoon multiverse in pursuit of Control Freak in this clip from the season eight episode of Teen Titans GO!, "Intro."
Oct 23, 2023 Watch
Justice League | S1.E14 | Clip: Wonder Woman Goes Shopping
Intrigued by the customs of our world, Wonder Woman explores a department store, until Batman arrives with an ominous warning in this clip from the season one episode of Justice League, "Fury." Watch the series now on Max.
Oct 22, 2023 Watch
Teen Titans GO! | S8.E22 | Clip: Introducing...Teen Titans
The gang are transported to the Titans Tower from the original 2003 Teen Titans series, where they attempt to replace the original Titans and create their own version of the show's intro in this clip from Teen Titans GO!
Oct 22, 2023 Watch
DC Super Hero Girls | Women Woman's Wisdom
Celebrate Wonder Woman Day with this supercut of the Amazon Princess' best moments from DC Super Hero Girls.
Oct 22, 2023 Watch
Spidey and his Amazing Friends | S2.E27.Pt2 | Clip: Gobby Steals all the Bees
When Gobby steals all the bees, Team Spidey and The Thing must get them back and save Rosh Hashanah in this clip from the season two episode of Spidey and his Amazing Friends, "An Un-bee-lievable Rosh Hashanah."
Oct 22, 2023 Watch